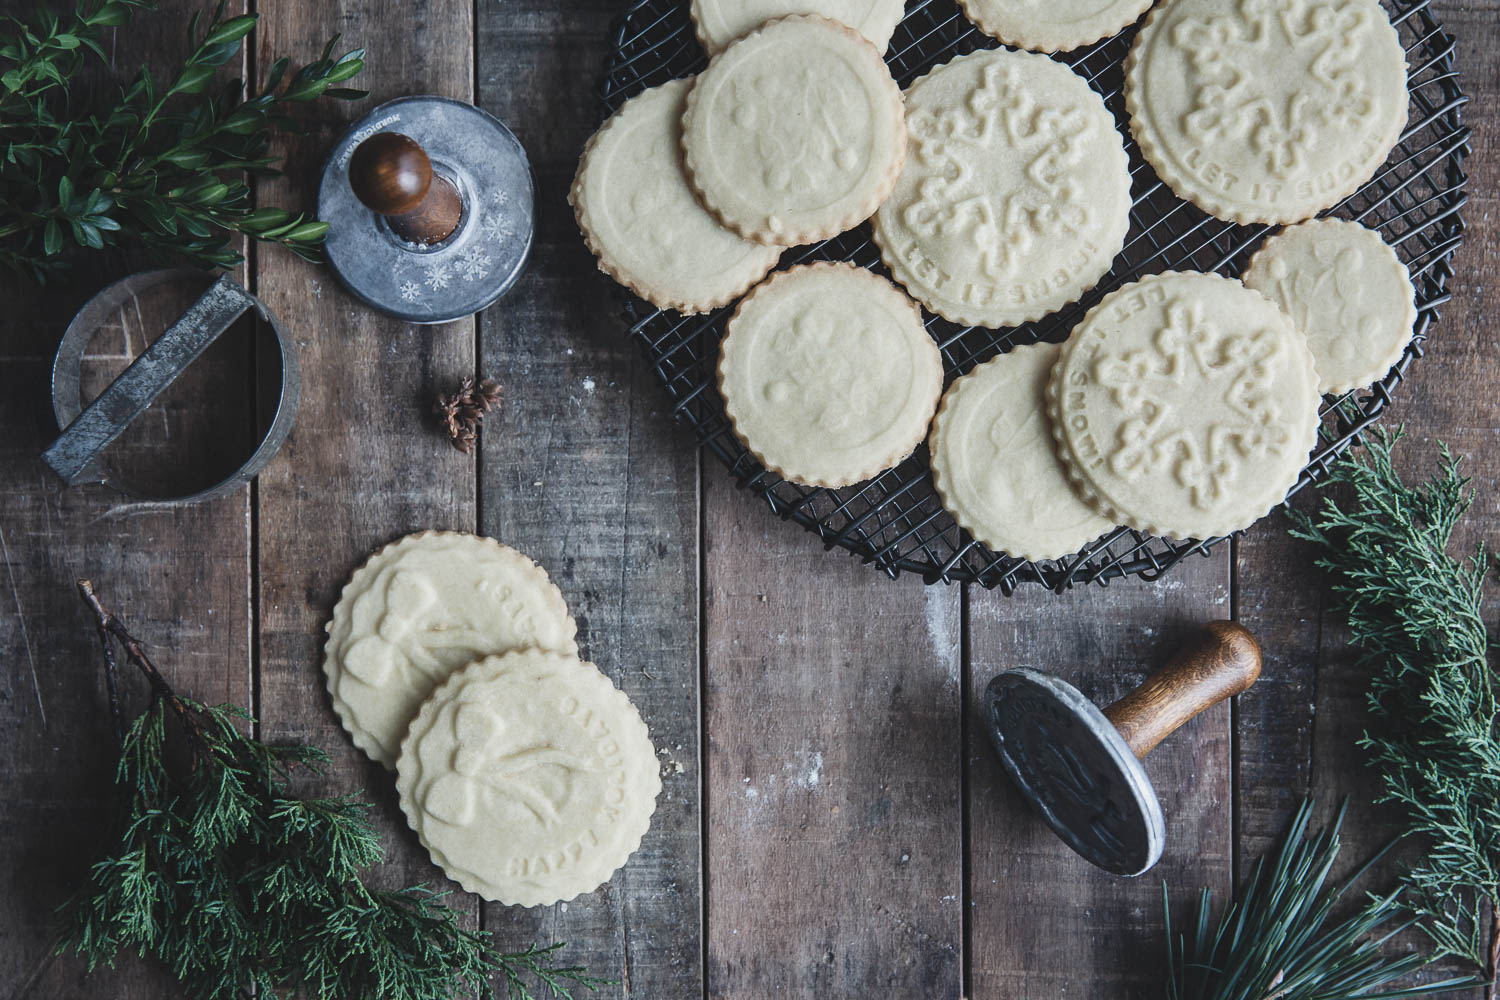
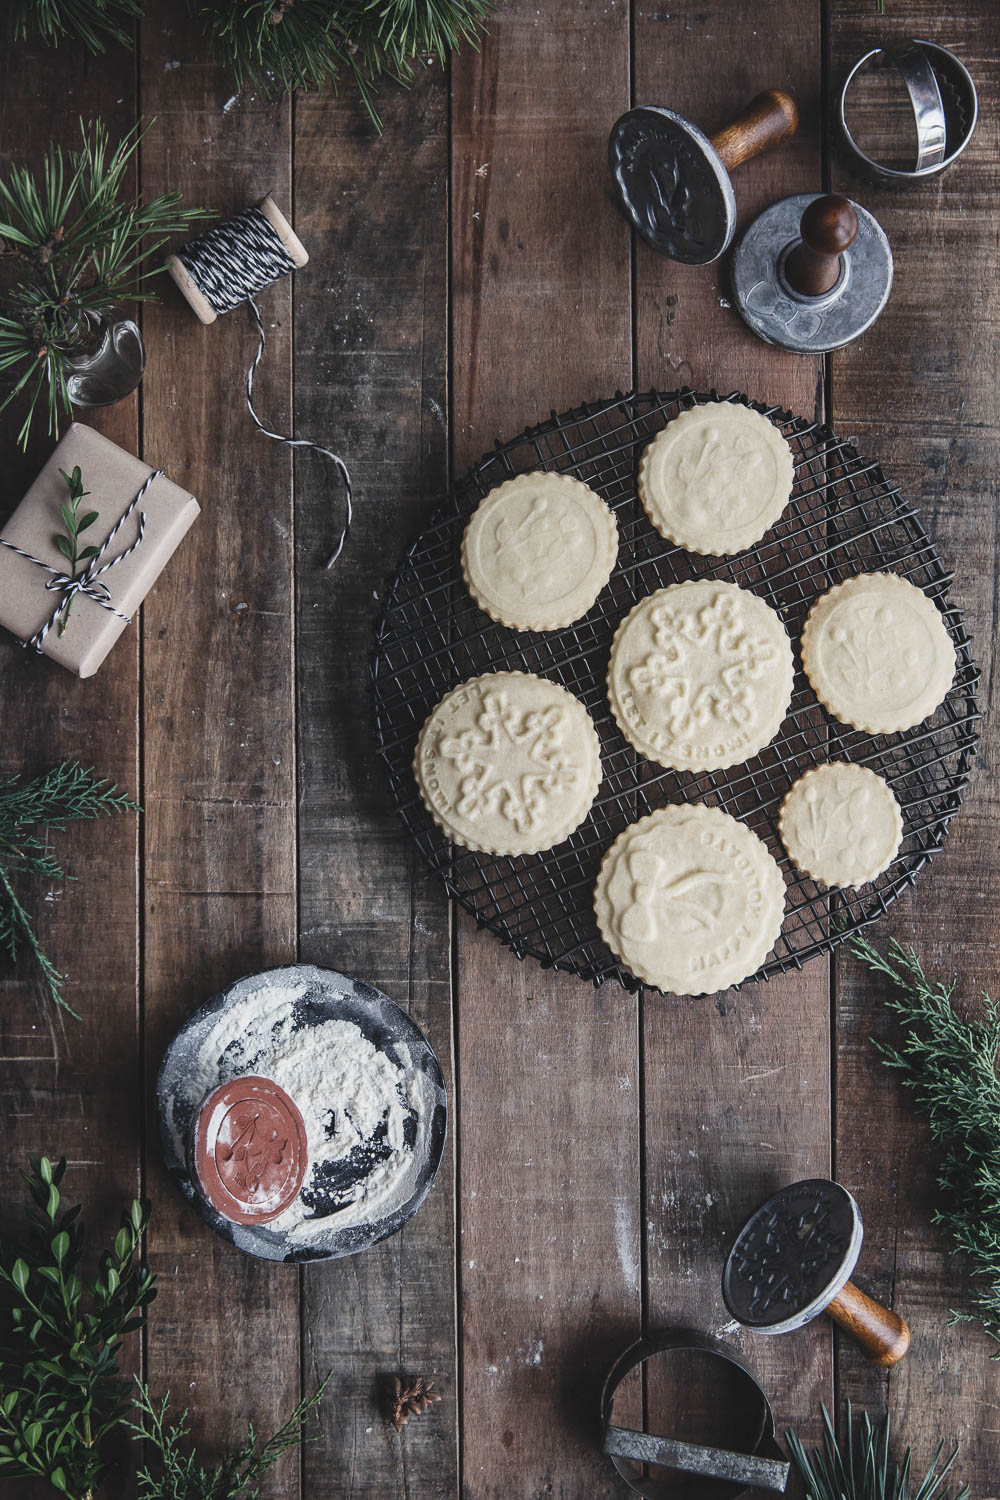
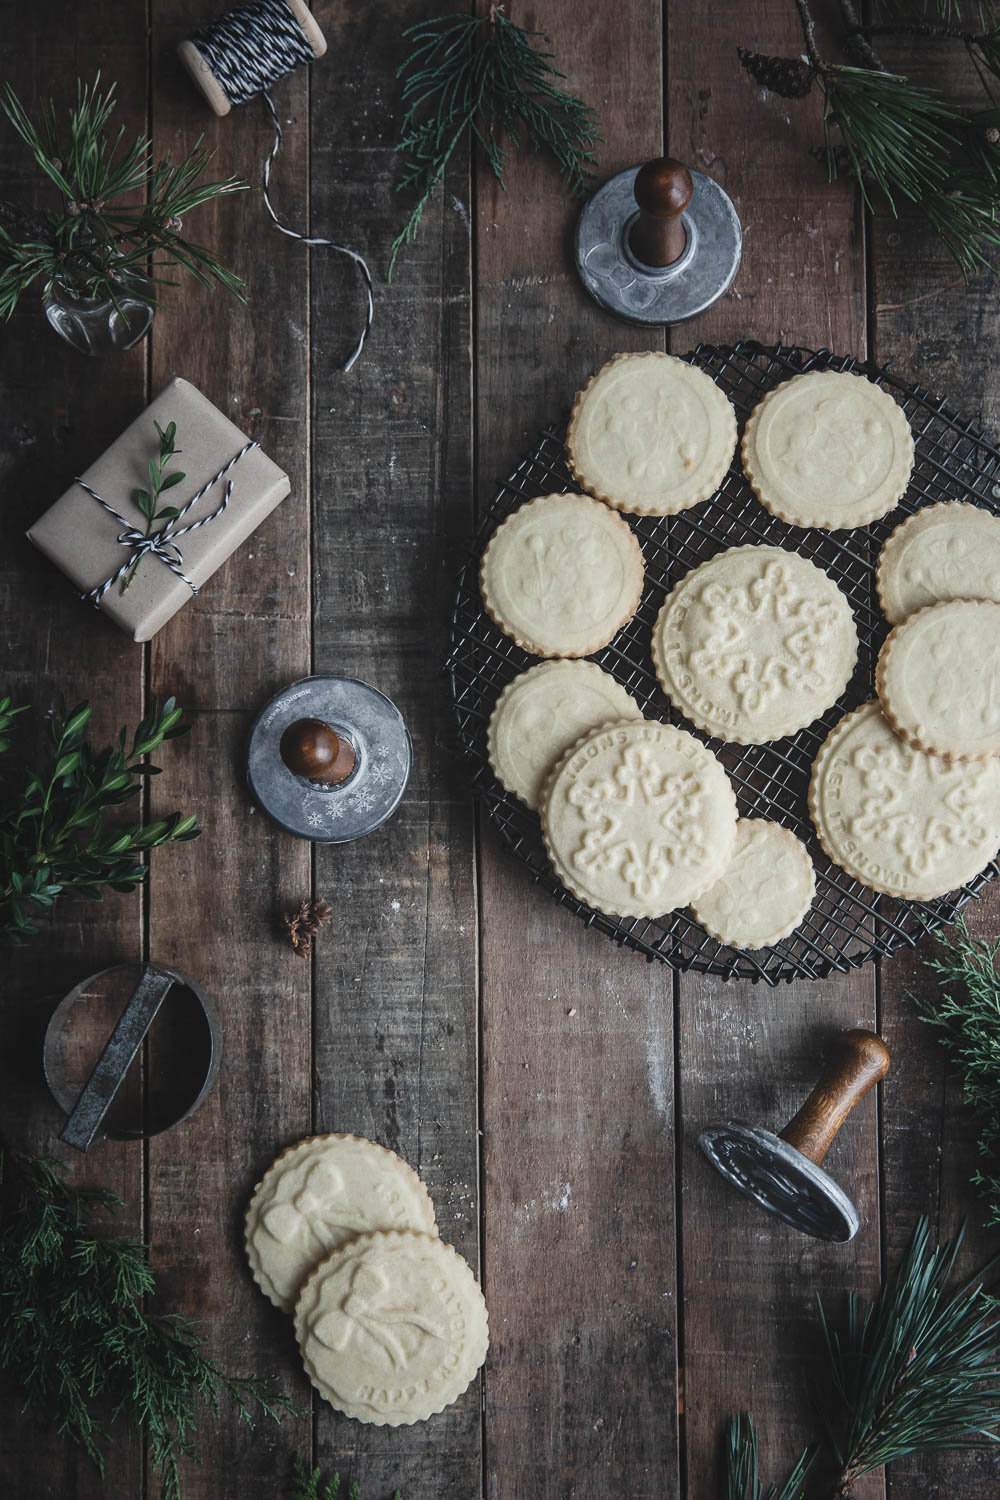
Christmas is just around the corner and even though there’s lots to do, there’s always time for a batch of Christmas cookies. Especially a simple cookie, like these stamped shortbread cookies, that go together quickly, taste great, and look fancy and festive. They’re great for sharing and go well with things like that afternoon coffee or tea.
Shortbread was one of my favorite cookies that my mom would bake when I was a kid, and now she and I have a shared affinity for making all different kinds of shortbread cookies. These are a classic, with no added flavorings. They’re lightly sweet, perfectly tender, and have a rich, buttery taste.
Stamped shortbread cookies
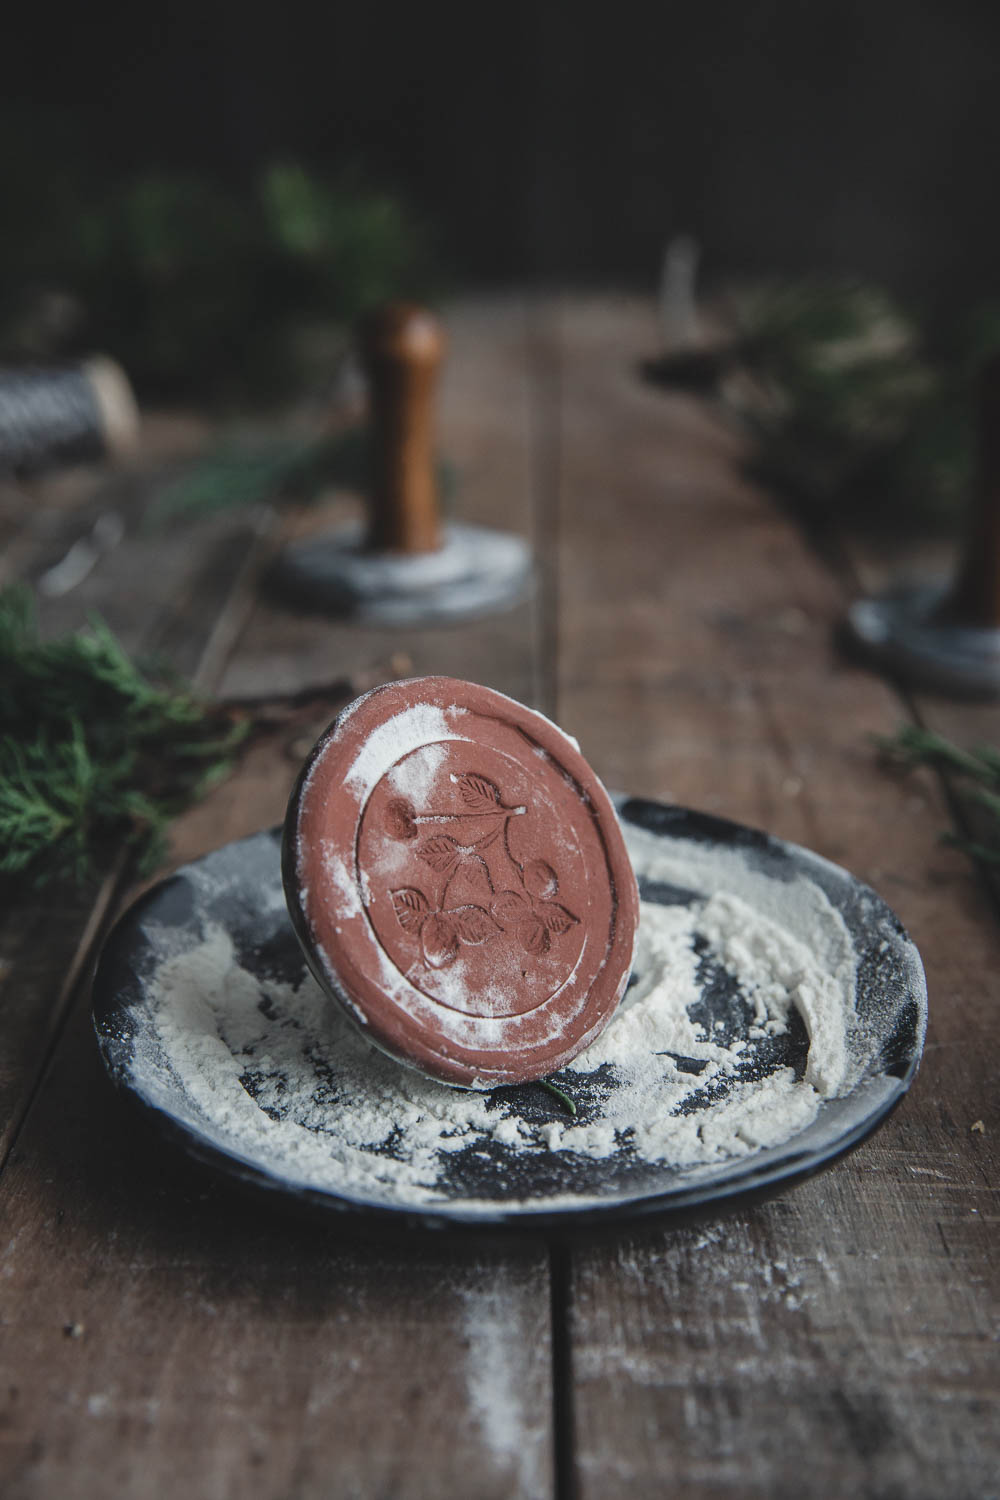
I used two different kinds of stamps to make these and both work well. I have this set from Nordic Ware (have you seen their other holiday sets? They look so fun!) and this sweet, partridge berry stamp made by local potter, Jon Lamarche of Old Firehouse Farm. (You can find some of his work here. ) Since it’s December, I’m going with Christmas stamps, but these cookies work well any time of the year.
Cookie stamp by Old Firehouse Farm pottery
Handmade Christmas
My FREE ebook, Handmade Christmas, is now in the library! Click below to gain access to all the free guides and recipe collections.
Stamped Shortbread Cookies
Makes 12 or so, depending on the size
What you need:
1 c. butter, softened (I use salted butter)
¾ c. powdered sugar
1 ¾ c. all-purpose flour
¼ c. cornstarch
What you do:
Heat the oven to 325° and get out two baking sheets. There’s no need to grease the cookie sheets, as these cookies have plenty of butter in them that will prevent sticking.
Mix the butter and sugar together using a mixer on medium speed. Add the dry ingredients, sifting if you choose, and mix until combined into a nice dough that’s pliable but not sticky. If the dough seems dry and crumbly, keep mixing on low speed until it comes together. If it’s too sticky, add a tablespoon of flour at a time and mix until it’s no longer sticky.
I have two methods for making stamped cookies. One method is to scoop out 2 Tbsp. of cookie dough at a time, place it on the cookie sheet, and using a lightly floured cookie stamp, impress the design. The cookie dough should adhere to the pan (provided you are not using a nonstick pan) so that when you lift up the stamp, your cookie will remain on the sheet. You can trim any rough edges if they bother you. This method works well and I wrote a whole post about it here.
My other method, the one I used for these cookies, is to stamp the designs onto rolled out dough and cut out the cookies with circle cutters. This method is a little bit fussier, because of the extra step and the additional circle cookie cutter, but gives a neater finished product. To use this method, lightly flour a work surface and rolling pin, and roll half the dough at a time to about ¼ inch thickness. Make sure your cookie stamps are floured, so they won’t stick to the dough, and firmly stamp your design. Use a circle cookie cutter or biscuit cutter to cut out around the stamped designs. I have a set of scalloped edge circle cutters, that came in 3 different sizes, that work perfectly for this. I used the 2.5 and 3 inch cutters. You can always trim around the stamped edge with a small knife if you don’t have a circle cutter. Place the cookies onto a baking sheet, leaving about an inch of space between them. Pop the baking sheet into the fridge for about 15 minutes before baking to help the cookies hold their shape. (I usually skip this step, but if you really want to ensure that your finished cookies look their best, it helps to chill the cookies before baking.)
Bake until cookies are set and just barely turning a golden color on the edges, 15-18 minutes, depending on the size of the cookies. Allow to cool in the pan for a minute or two, and then move to a wire rack to cool completely.
Store the cookies in a tightly sealed container. They will keep for several days or more.
Stamped Shortbread Cookies for Christmas
Some tips for cookie stamp success:
Work with half of the dough at a time and leave space around each stamped design to cut out with a circle cutter. Your designs might start to smoosh together if you roll out too much dough and are pressing firmly. (I recommend pressing firmly.)
Make sure to flour your work surface and the cookie stamps and cutters.
Making a deep impression in the dough, by pressing firmly and evenly, will help to maintain the design when the cookie bakes.
Lift up the stamp as gently to avoid squishing one side of the cookie.
Chill the cookies before baking to help them hold their shape in the oven.
If your dough feels too sticky, add a little more flour and chill before baking. If the dough is too soft, the cookies will spread in the oven and you’ll lose your designs.
Tip from a reader – dip the stamps in powdered sugar instead of flour before stamping into the dough. (Thank you, D!


