The holiday season is well and truly upon us and my oven is seeing even more action than usual, which is really saying something. I love to bake any time of the year, but December is an especially fun time to make up some festive treats to share, and these rosemary shortbread Linzer cookies with blueberry preserves are my current favorite.
Read moreBaked Pumpkin Donuts
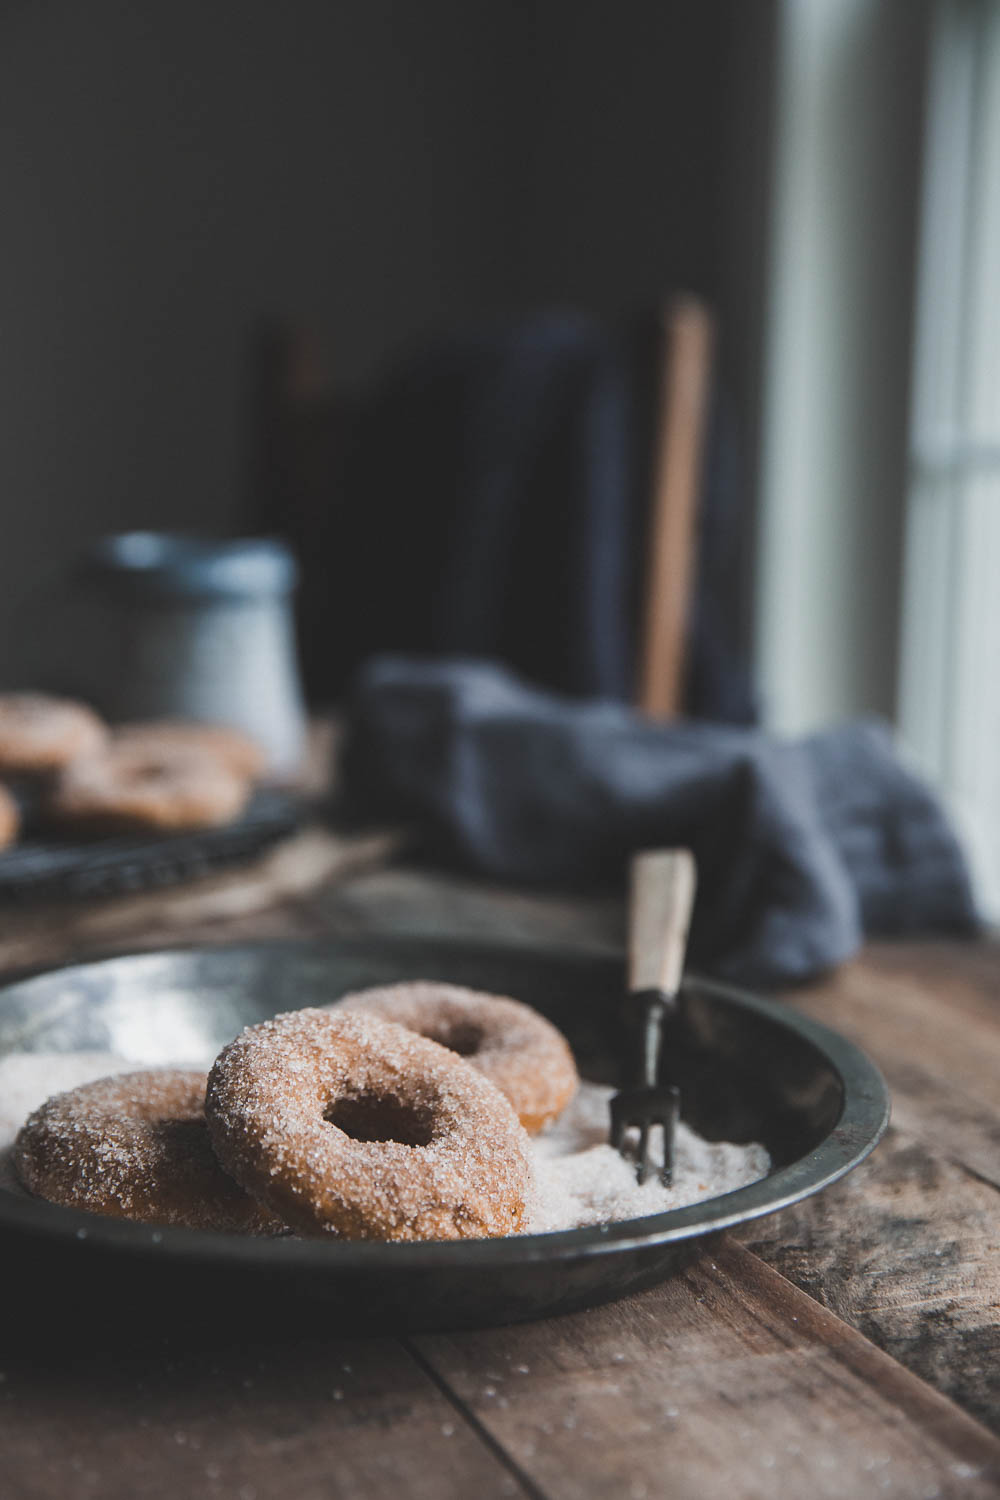
October is here! I love October. I love the vibrant colors of the changing leaves and the cool, crisp air. I love needing a sweatshirt, but not needing the winter gear just yet. I love seeing pumpkins on door steps and leaves on the walkways. Most of all, I love the coziness that is an inherent part of the season. There’s just nothing like going for a walk in the cool air outside and then coming in and warming up with a baked pumpkin donut and a hot cup of coffee.
Read moreApple Blackberry Skillet Cake with Maple Bourbon Whipped Cream
Having already made two apple pies, applesauce, and apple pie scones, I needed something else to put in my apple baking repertoire. I’ve always loved the appeal of skillet cakes – they seem so rustic and homey, like something I could make (almost) as easily over a woodstove in a log cabin as in my modern kitchen. So an apple skillet cake seemed like a plan.
Read moreClassic White Cake Recipe
Everyone needs a good classic white cake in their repertoire, and this is mine. It’s my go-to white cake, easily adaptable for any season, holiday, or event. As you can see here, I made it for spring and decorated it with the apple blossoms that were blooming all around.
Read moreAutumn Pear Caramel Cake
It's autumn. Late autumn, to be specific. It's gray and cold outside, the garden is put to bed for the winter, and we drink hot beverages all day to keep our hands warm. Most importantly, it's time to bake comfort foods. The holiday season will be here before we know it, but first, let's enjoy these calm and quiet, if a little bleak, days. I'm doing this by hanging some leaves, brewing some coffee, and getting into the kitchen for some baking. I started my baking with this pear caramel cake. It’s the perfect thing for November.
Read moreValentine's Day Chocolate Truffles
Happy Valentine's Day! We don't usually make a big fuss over Valentine's Day, but it's always fun to make something with the kids to share with their friends and teachers. It was convenient that we were snowed in yesterday, thanks to the blizzard that left us 2 feet of snow, and so we had the day to make Valentine's and chocolate truffles.
To make the truffles:
- 1 pound bitter or semisweet chocolate, chopped
- 1 c. heavy cream
- 1 tsp. vanilla
- 8 oz. bittersweet or semisweet chocolate, chopped, set aside
- 2 oz. white chocolate, optional, for drizzling on top
Chop the pound of chocolate and place in a heatproof bowl. Heat the cream to a simmer and pour over the chocolate. Let it sit for a couple of minutes so the chocolate can warm up, then gently whisk until it becomes smooth and shiny. Whisk in the vanilla or any other flavor you like. Place the mixture in the fridge for about 20 minutes. When it is firm, scoop the mixture into individual portions using two spoons or a small cookie scoop, and place onto a parchment-lined cookie sheet. If the portions are firm enough, roll into smooth balls now. If not, place them back in the fridge for 10 minutes until you can handle them. Once you have them all rolled into balls, place in the fridge to firm up, about an hour.
After they are firm and chilled, melt your additional bittersweet or semisweet chocolate. I do this in a glass bowl in the microwave, on high, for 15 second intervals, stirring in between, until the chocolate is smooth. Then, using a fork, dip each truffle into the melted chocolate, tap off the excess, and place on a parchment-lined cookie sheet. When all the truffles have been dipped, return to the fridge until set, about 20 minutes. Melt the white chocolate and using a fork or spoon, gently drizzle over the top of the truffles.
The truffles will keep in an airtight container for 3 days, a week if you put them in the fridge.
Enjoy!
-KB
Fresh Strawberry Pie
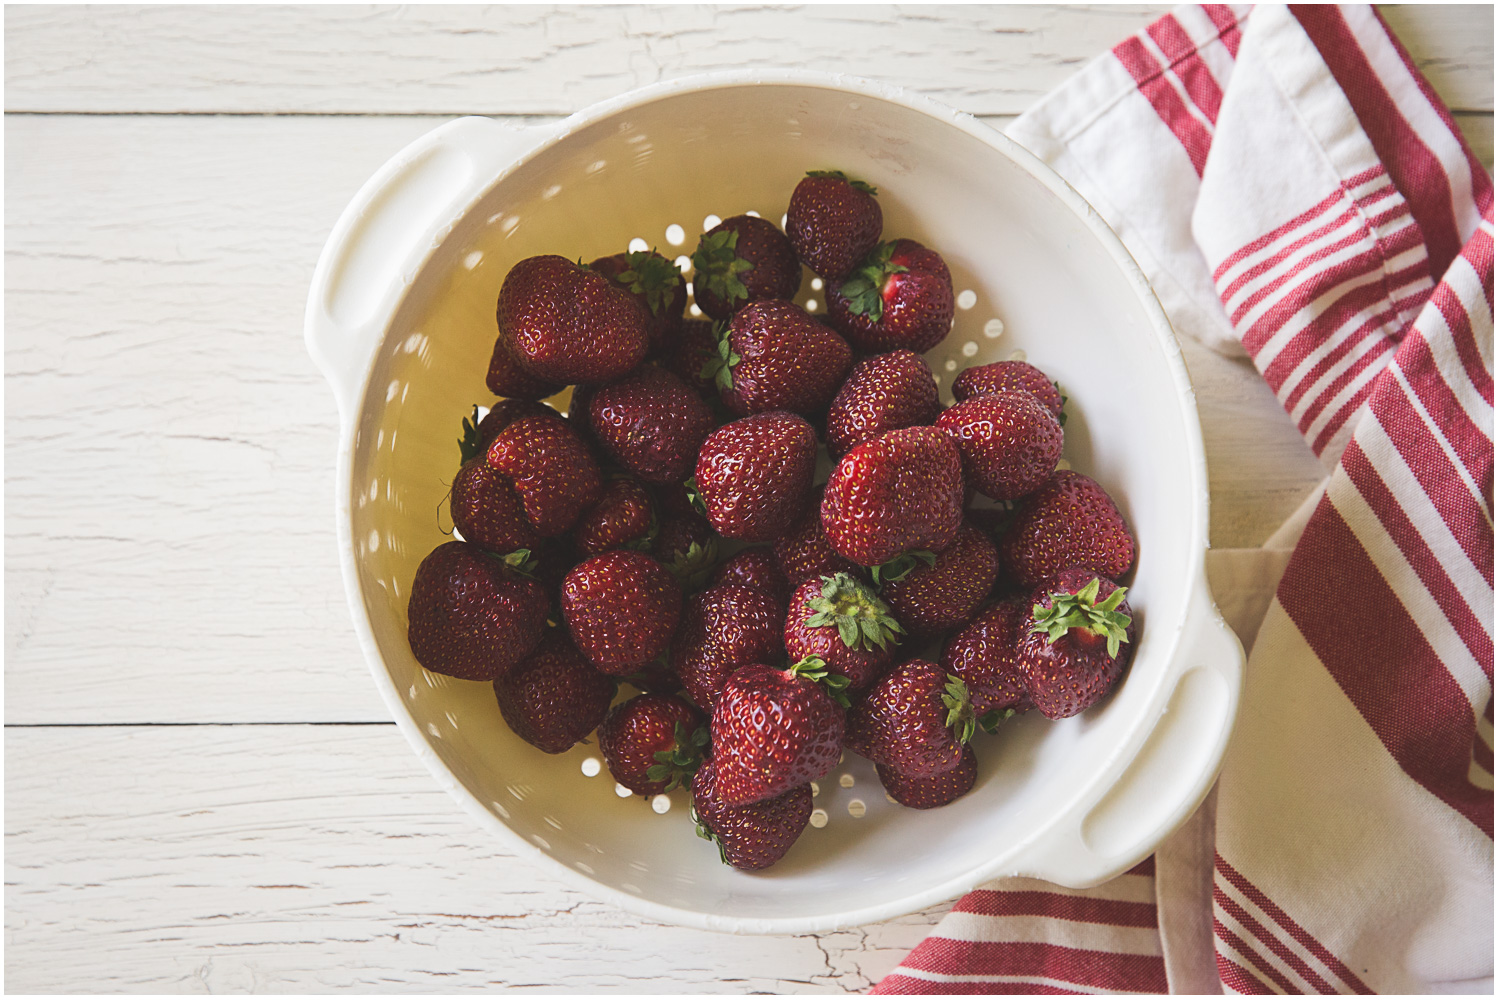
Every year when the local strawberries come into season, I am reminded of just how flavorful and sweet locally grown berries can be. There is just nothing like it. We wait a long time up in the frozen north for berry season but it is well worth the wait. Our strawberry season is usually late June through early- to mid-July. The berries have a short shelf-life once picked, but it is not difficult to use up a quantity of berries in a hurry. They are so good, and good for you, eaten fresh and unadulterated, but once I've consumed my fair share, I like to use the rest to make sweet treats. Locally grown berries are unparalleled for classic strawberry shortcakes, jam, and this strawberry glace' pie. (The berries pictured are from Stevenson's Strawberries in Wayne, Maine, where I am very fortunate to have an in.)
This pie was my favorite strawberry treat when I was a kid. My mom would always make it for us after she did her serious picking session, bringing home enough berries to make copious amounts of jam, shortcakes, and pie. I have never especially cared for the texture of strawberries once they are baked, so this pie always worked for me because you do not bake the berries. You do mash some up to make the filling, but since they are cooked completely down and turned into a jam/jelly-like substance, the texture is not an issue. You are left with fresh, whole berries and a strawberry jelly to hold it all together.
Recipe -
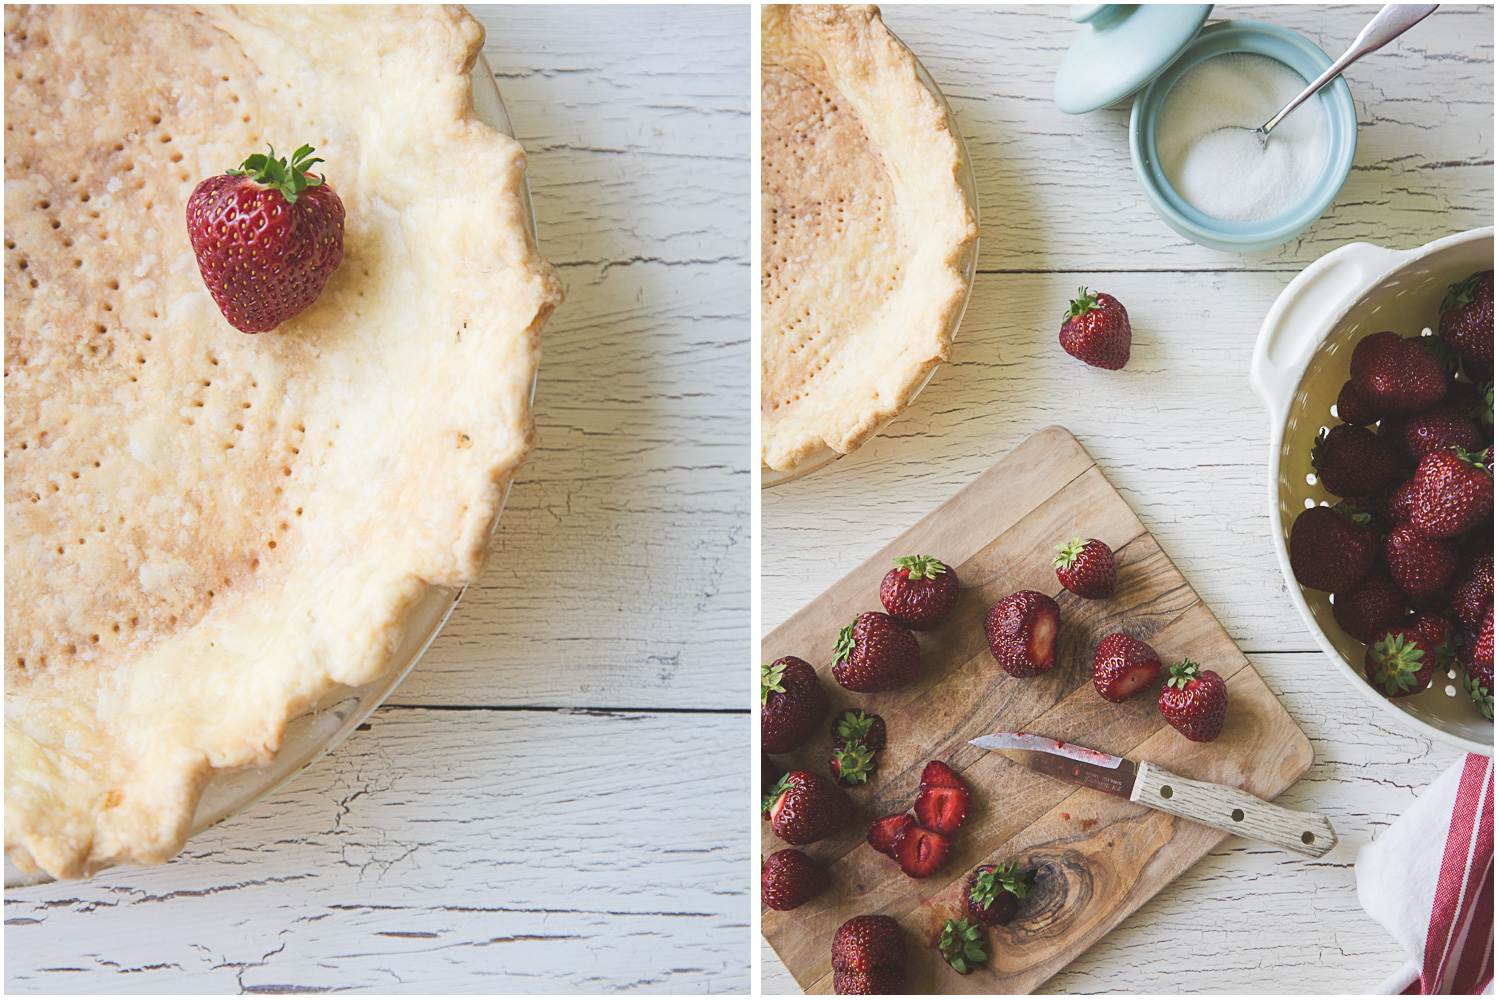
The filling recipe is from Betty Crocker. My pie shell was a bit of a disaster, so I will spare you that recipe for now. You can use any pastry crust you like for the shell. I think next time I make this pie, I will add a little lemon or lime to the filling, just to add a little flavor boost.
Filling:
- 1 quart fresh strawberries
- 1 c. water
- 1 c. sugar
- 3 Tbsp. cornstarch
- 3 oz. cream cheese, softened
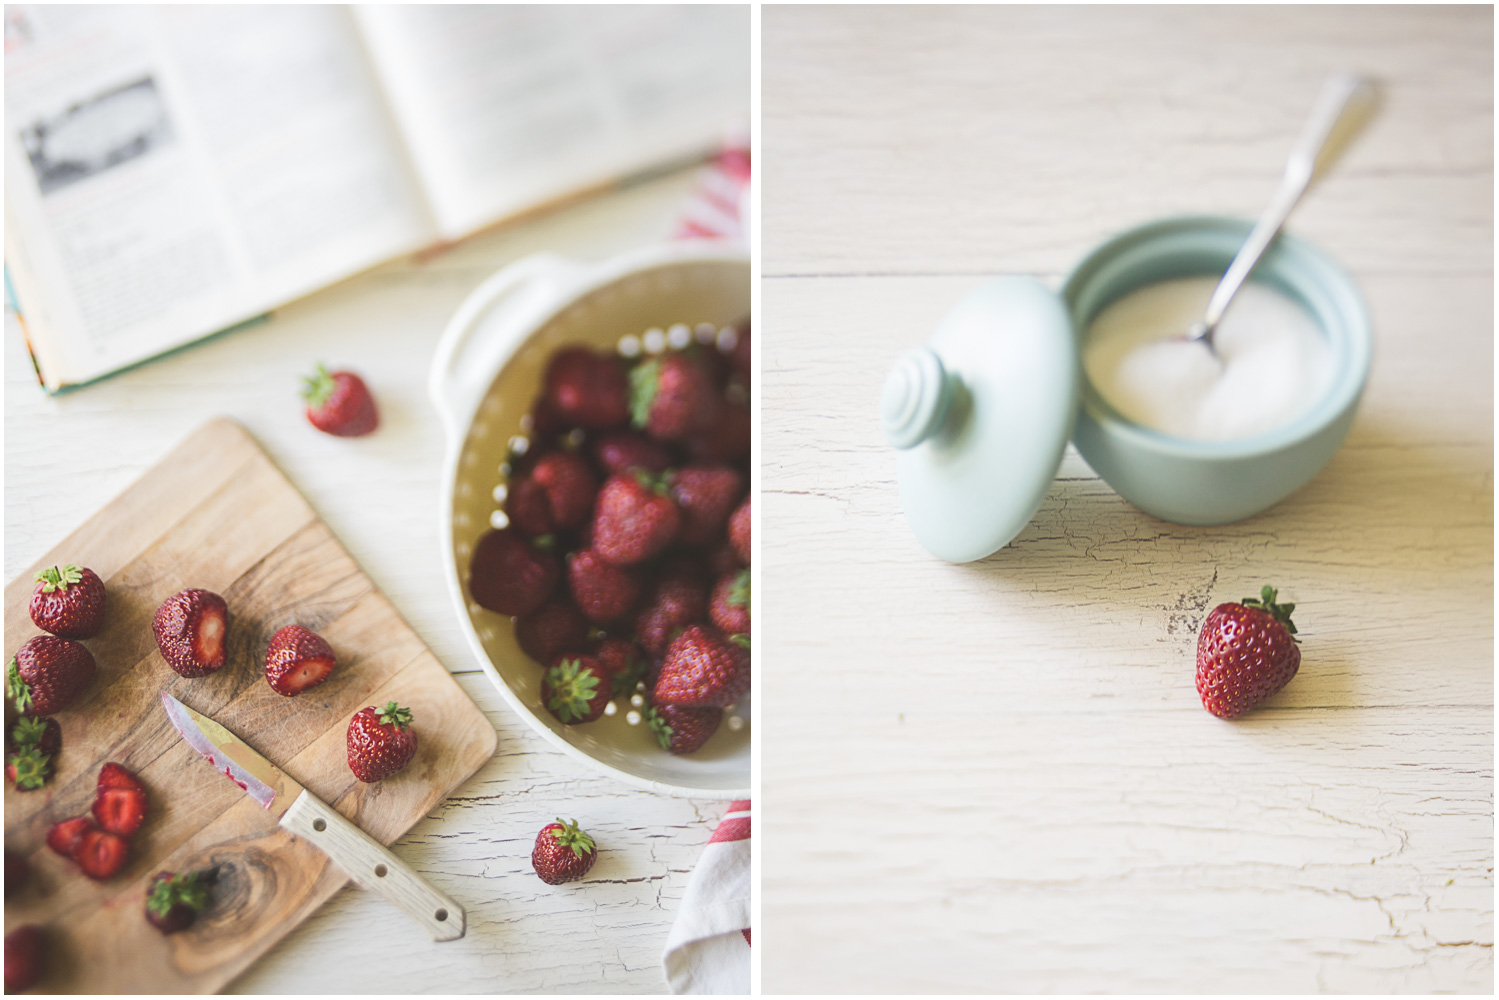
Rinse the berries, dry, and cut off the stems. Put about 1 cup of the berries in a saucepan with 2/3 c. water and bring to a simmer. Let simmer for 3-5 minutes, until the berries get soft and start breaking down. Meanwhile, mix together the sugar, cornstarch, and remaining 1/3 c. water in a small bowl. Add to the strawberry mixture and bring to boil. Boil for 1-2 minutes, until thickened, stirring constantly. Remove from heat and let cool completely. You don't want to put a hot mixture on top of your fresh berries, but don't let it set longer than necessary or it will firm up too much to spread nicely.
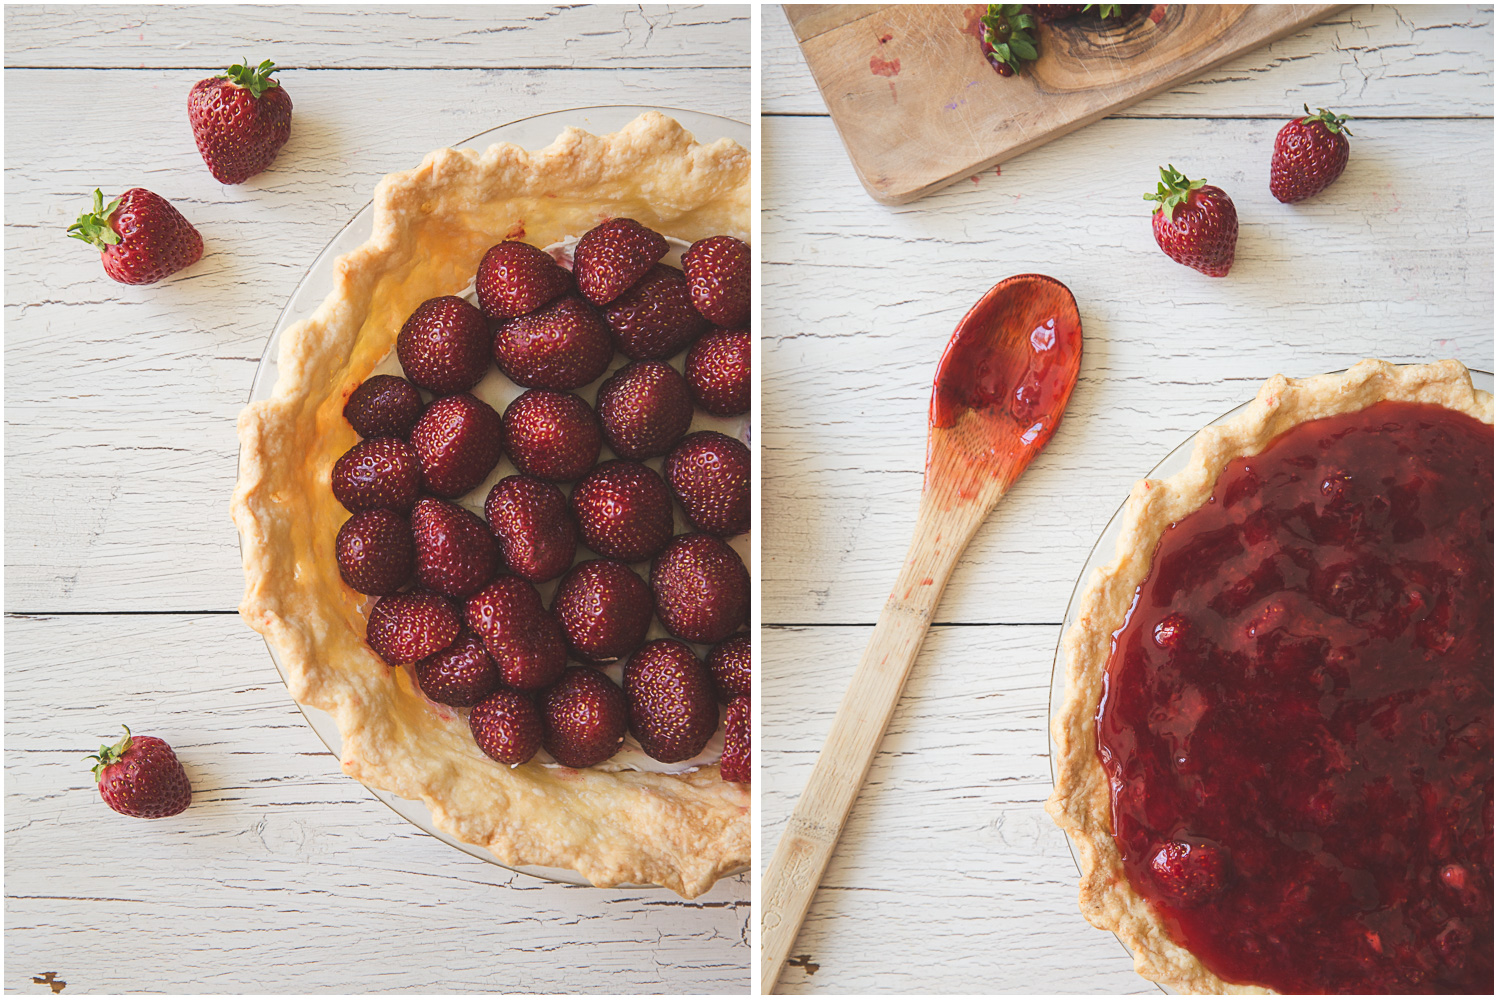
Spread the softened cream cheese over the bottom of the pie shell. It creates a tasty barrier between the pie crust and the filling so that you don't end up with a soggy crust. Then place the whole berries, cutting in half as needed to fit, into the pie. I make a reasonable effort to make this part look nice, meaning that I will cut down an overly large berry to make it fit in better with the others. I will also halve berries to fill in the gaps. You may have berries leftover that you can use as a garnish later.
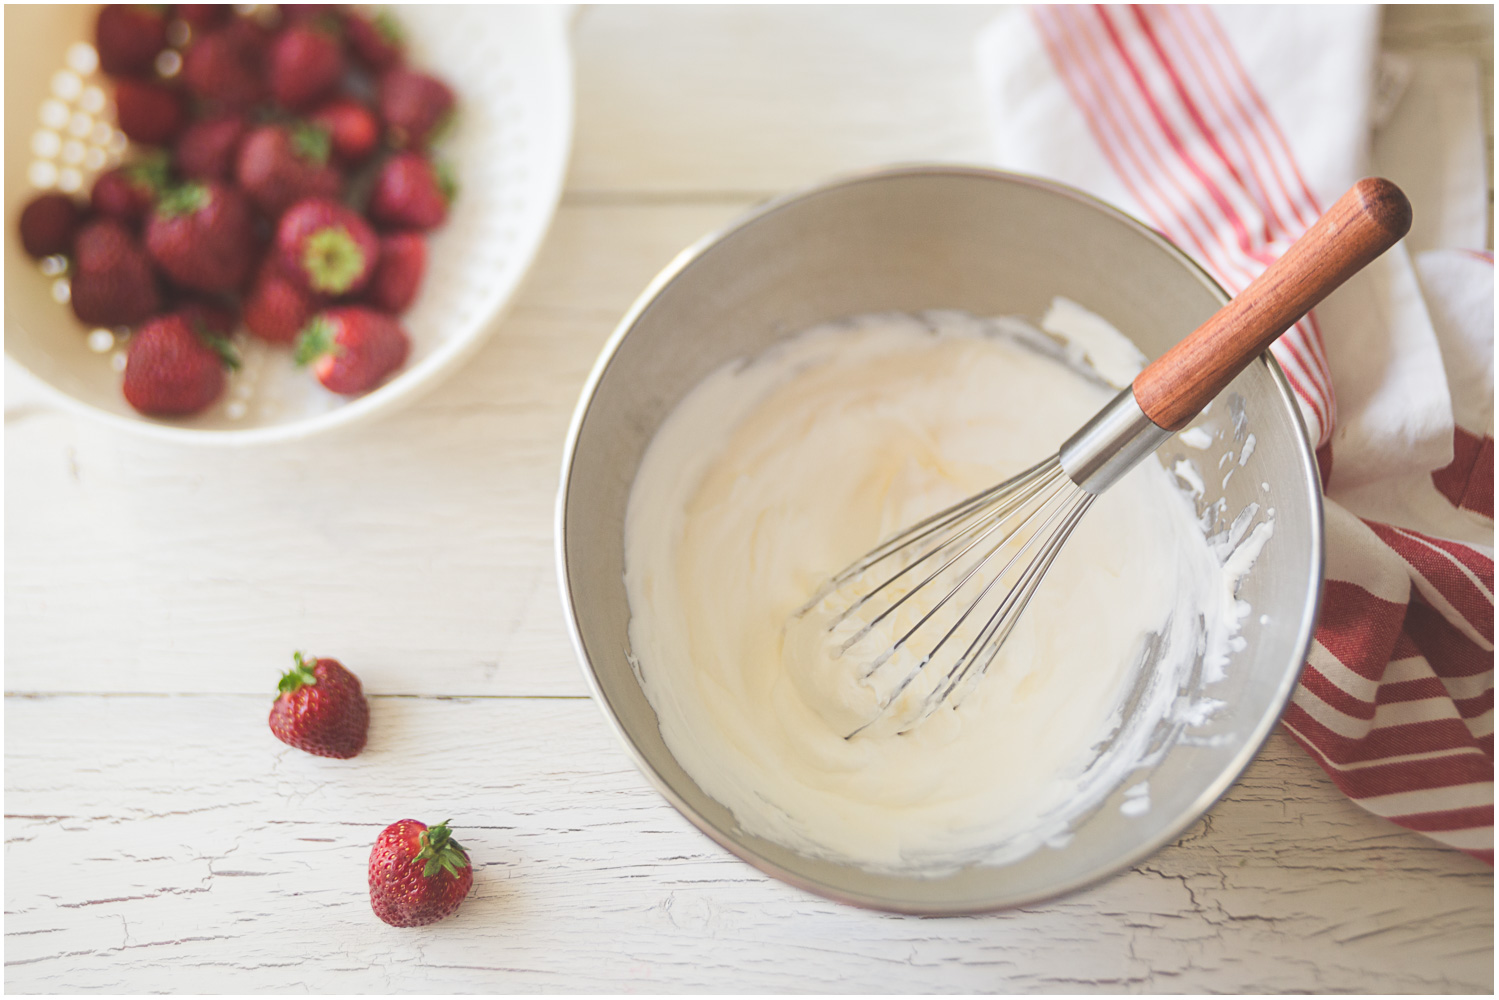
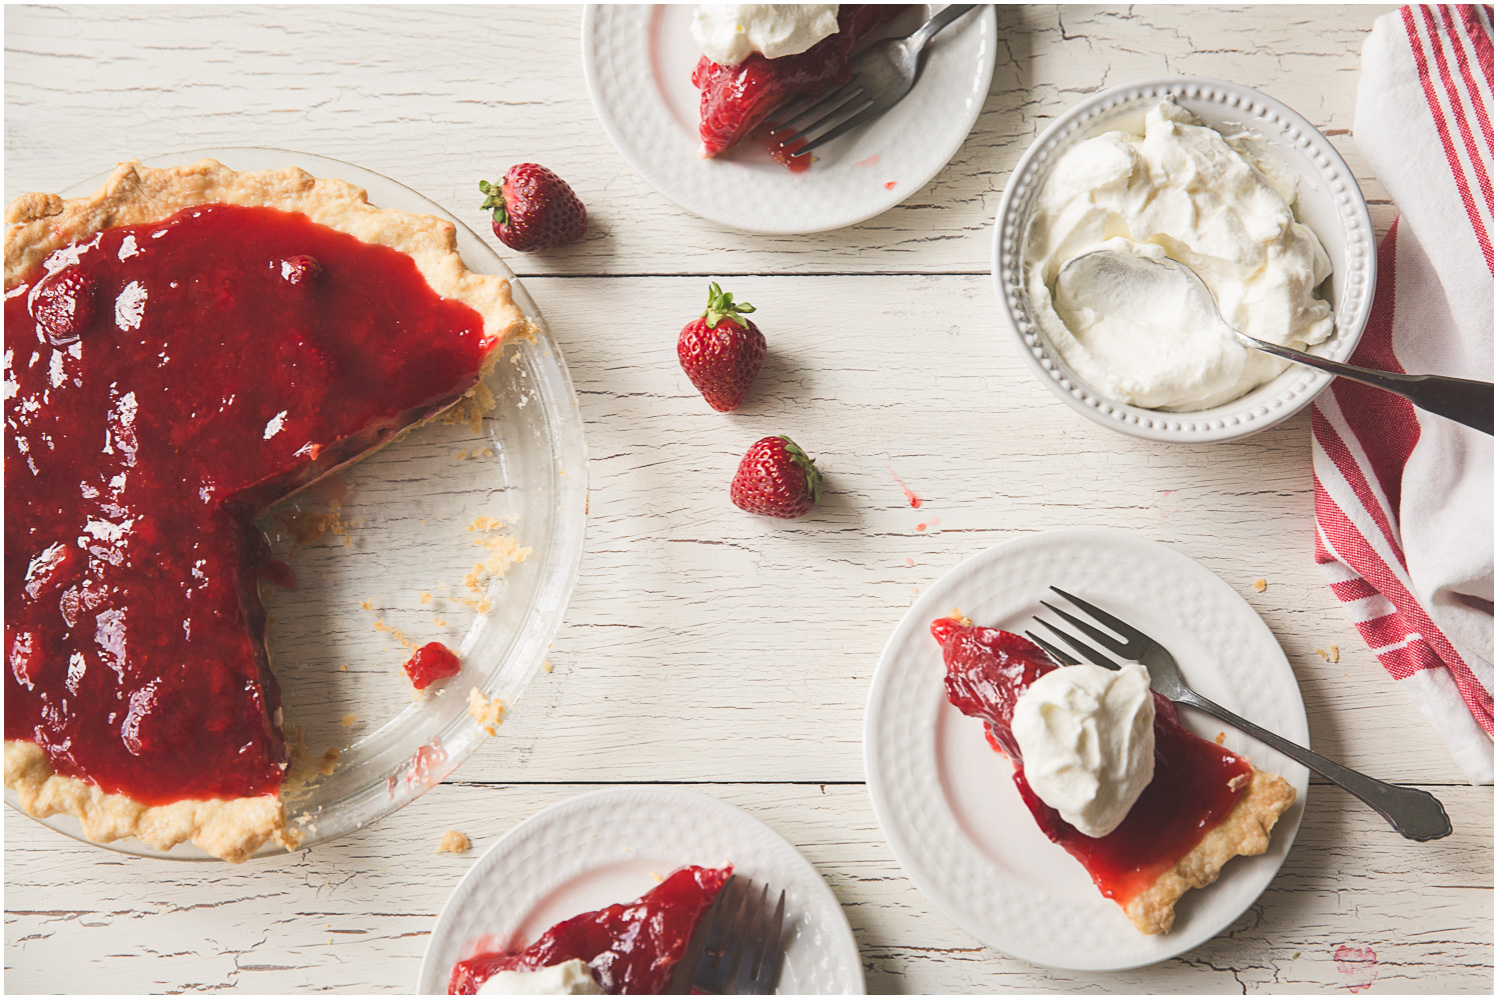
Pour your cooled filling mixture over the top. Spread evenly and then chill for at least 2 hours, but more if you can spare the time. If it chills properly, it will hold it's shape once cut. I only chilled for 2 hours for these photos and the pie could really have used more time to firm up. Top with freshly whipped cream and any leftover strawberries to serve.
Enjoy! - KB